Electrolux EBA 60002X User Manual
Browse online or download User Manual for Coffee makers Electrolux EBA 60002X. Electrolux EBA 60002X User's Manual
- Page / 40
- Table of contents
- BOOKMARKS
- Automatic coffee machine 1
- EBA 60000 X / EBA 60002 X 1
- CONTENTS 3
- 1. SAFETY INSTRUCTION 4
- PERMANENT CONNECTION 7
- TOUCH CONTROLS 9
- INITIAL START-UP 13
- CAUTION 14
- CAUTION: 16
- 5 MAKING COFFEE 17
- 6 HOT WATER 18
- 7 STEAM 19
- GRINDED 20
- THE CUP 22
- RESETTING STANDARD VALUES 23
- 11 SIGNAL AND ALARMS 24
- 12 COFFEE MENUS 25
- 13 CLEANING 26
- DRIP TRAY 27
- WATER RESERVOIR 29
- 14 INSTALLATION 30
- ELECTRICAL CONNECTION 31
- 17 A RVICE, SPARE PART 35
- Customer Care 36
- European Guarantee 36
Summary of Contents
Automatic coffee machineuser manualEBA 60000 X / EBA 60002 X
4 INSTRUCTIONS FOR THE FIRST USE OF THE MACHINE FILLING UP THE WATER RESERVOIR • Squeeze together the unlocking levers found under the drip
Hardness of water: • Before filling up the water reservoir, make sure that the decalcifying Brita filter has been soaked in cold water for at least 3
• Ensure the mains ON/OFF switch(at rear) is ON • push the machine back into the housing until a “CLICK” can be heard. This indicate that the mach
• Pour approximately 200 g of coffee beans into the container on the top ashown in the figure. s • Push the machine back into the
• The machine is be in stand-by mode when the ON-OFF LED is blinking slowly, it is then ready to be switched on. • Ensuring the water reservoir a
• Pull the coffee machine forward from it’s housing by sliding it along it’s telescopic runners. • Turning the knob will ad just the coffee
STAND-BY MODE• Once powered and inserted into the cabinet, the machine is in stand-by mode: this will be signaled by the on/off LED blinking. • Pr
5 MAKING COFFEE • Press the control corresponding to the desired selection. • Press the start control within 10 seconds and the machine will mak
6 HOT WATER • The steam/water pipe can be moved to the back of the cabinet when not in use. Pull forward when required. Do not touch when HOT!
7 STEAM HEATING LIQUIDS • Press the steam control and the corresponding indicator blinks for 20 seconds. The machine will be ready to make steam
8 PROGRAMMING THE AMOUNT OF COFFEE BEANS TO BE GRINDED • This espresso machine has already been calibrated in factory to dispense the ideal measure
• Once you have modified the coffee ground quantity, press the start control for 10 seconds and the machine will automatically save the quantity de
9 PROGRAMMING THE VOLUME OF COFFEE DISPENSED IN THE CUP • The volume of coffee dispensed can be adjusted as desired as follows: • Press the espr
10 IF YOU WISH TO RESET THE STANDARD VALUES RESETTING STANDARD VALUES • This coffee machine is calibrated in the factory to make the optimum Itali
11 SIGNAL AND ALARMS WATER REFILL INDICATOR • This machine has a sensor which detects when the water reservoir is empty. the reservoir empty led
FAULT INDICATOR • The machine incorporates an automatic system that, detecting a fault in operation, will illuminate all the LEDS. Switch OFF the m
13 CLEANING OUTER PARTS • Clean the stainless steel parts of the machine with a soft cloth without using aggressive detergents. Never use any abr
DRIP TRAY • Remove the drip tray from the machine as it is shown in the figures above. • Make sure that the drip tray is periodically drained to p
Pull open the door and remove the drawer and empty it. The drawer can be washed in a dishwasher or simply with hot water. Replace the
28/37WATER RESERVOIR • If the machine is not used for long periods, change the water in the reservoir and drain the boiler by pressing the coffee b
ENGLISH CONTENTS 1. Safety instructions 2. Description of the coffee machine 3. Description of the control panel: touch control 4. Instruction
14 INSTALLATION BUILDING-IN Installing the machine into kitchen furniture with proper characteristics will ensure a correct operation of the equipm
ELECTRICAL CONNECTION • Fix the power cable onto the left side of the cabinet using one of the self-threading screws of the equipment and the
31/37Connect the power cable as shor INSTALLING THE MACHINE • wn in the figure. This machine is designed foa single phase voltage of 230V. Th
32/37 • They should beto compensate for the internalwidth of th Fix the U base plate inserting 4 self-threading screws into the 4 front hole
• Slide the machine into the cabinet untill the “click” indicates that it is 5 SOMETHING NOT If this m , please make sure that the fault is n
34/37 FTER-SALES SE S AND GUARANTEE 17 A RVICE, SPARE PARTStandard guarantee conditions: he date of the purchase x appliance or any part thereof
35/37orking”. When you contact the Service Force appliance (found on the rating plate). Ple r i u ls. Before calling out an engineer, please ensu
36/37• ew country of residence. The vyou by laThe appliance is installed in accordance with all relevant regulations in force within your n pro isi
37/37
1. SAFETY INSTRUCTION Please read this instruction book before using the appliance and retain for future reference. These warnings are provided in t
www.electrolux.com
FOR INSTALLATION AND SERVICING Keep this instruction manual together with the machine for any future reference. If the machine is sold or transferred
CE This machine complies with the directive BT 73/23 Electrical safety rules EN 60335-1 (August 1995 - Safety for electrical household and similar ap
THE PLUG MUST STILL BE ACCESSIBLE AFTER THE APPLIANCE HAS BEEN INSTALLED. THE APPLIANCE SHOULD NOT BE CONNECTED TO THE ELECTRICAL SUPPLY BY MEANS O
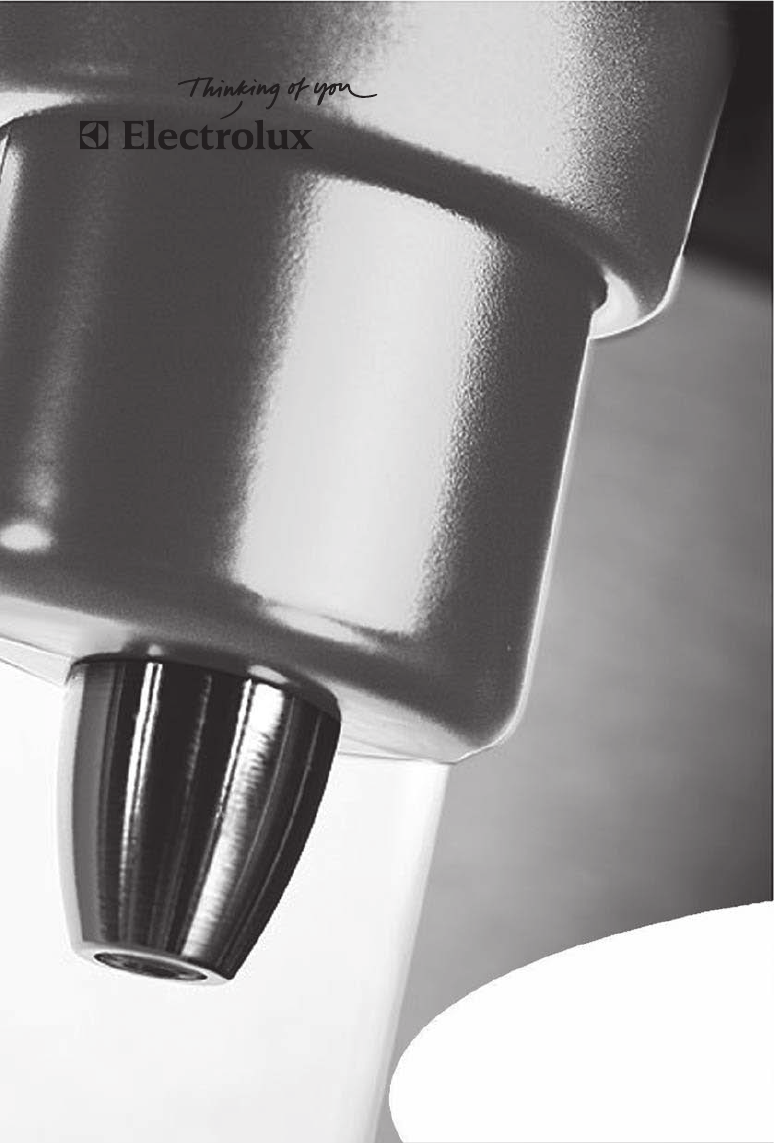
2. DESCRIPTION OF THE COFFEE MACHINE 1. Water reservoir 2. Brita filter 3. Coffee Outlet 4. Steam/water nozzle 5. Drip tray 6. Coffee bean
3. DESCRIPTION OF THE CONTROL PANEL: TOUCH CONTROLS 1. Water refill indicator 2. ON-OFF/stand-by indicator 3. Start indicator 4. Hot water
Related products and manuals for Coffee makers Electrolux EBA 60002X
 (44 pages)
 (19 pages)
 (2 pages)
 (28 pages)

 (212 pages)
© 2020, manymanuals.com. All rights reserved. | 2.121 s |
 Manymanuals.com
 Manymanuals.de
 Manymanuals.fr
 Manymanuals.it
 Manymanuals.pl
 Manymanuals.cz
 Manymanuals.es
 Manymanuals-pt.com
Comments to this Manuals